- Company Articles
- FAQ
- FAQ
- Five Way Straight Lean Pipe Joint FAQs: Installation, Load & Material

Five Way Straight Lean Pipe Joint FAQs: Installation, Load & Material
Related Product
Five Way Straight Lean Pipe Joint
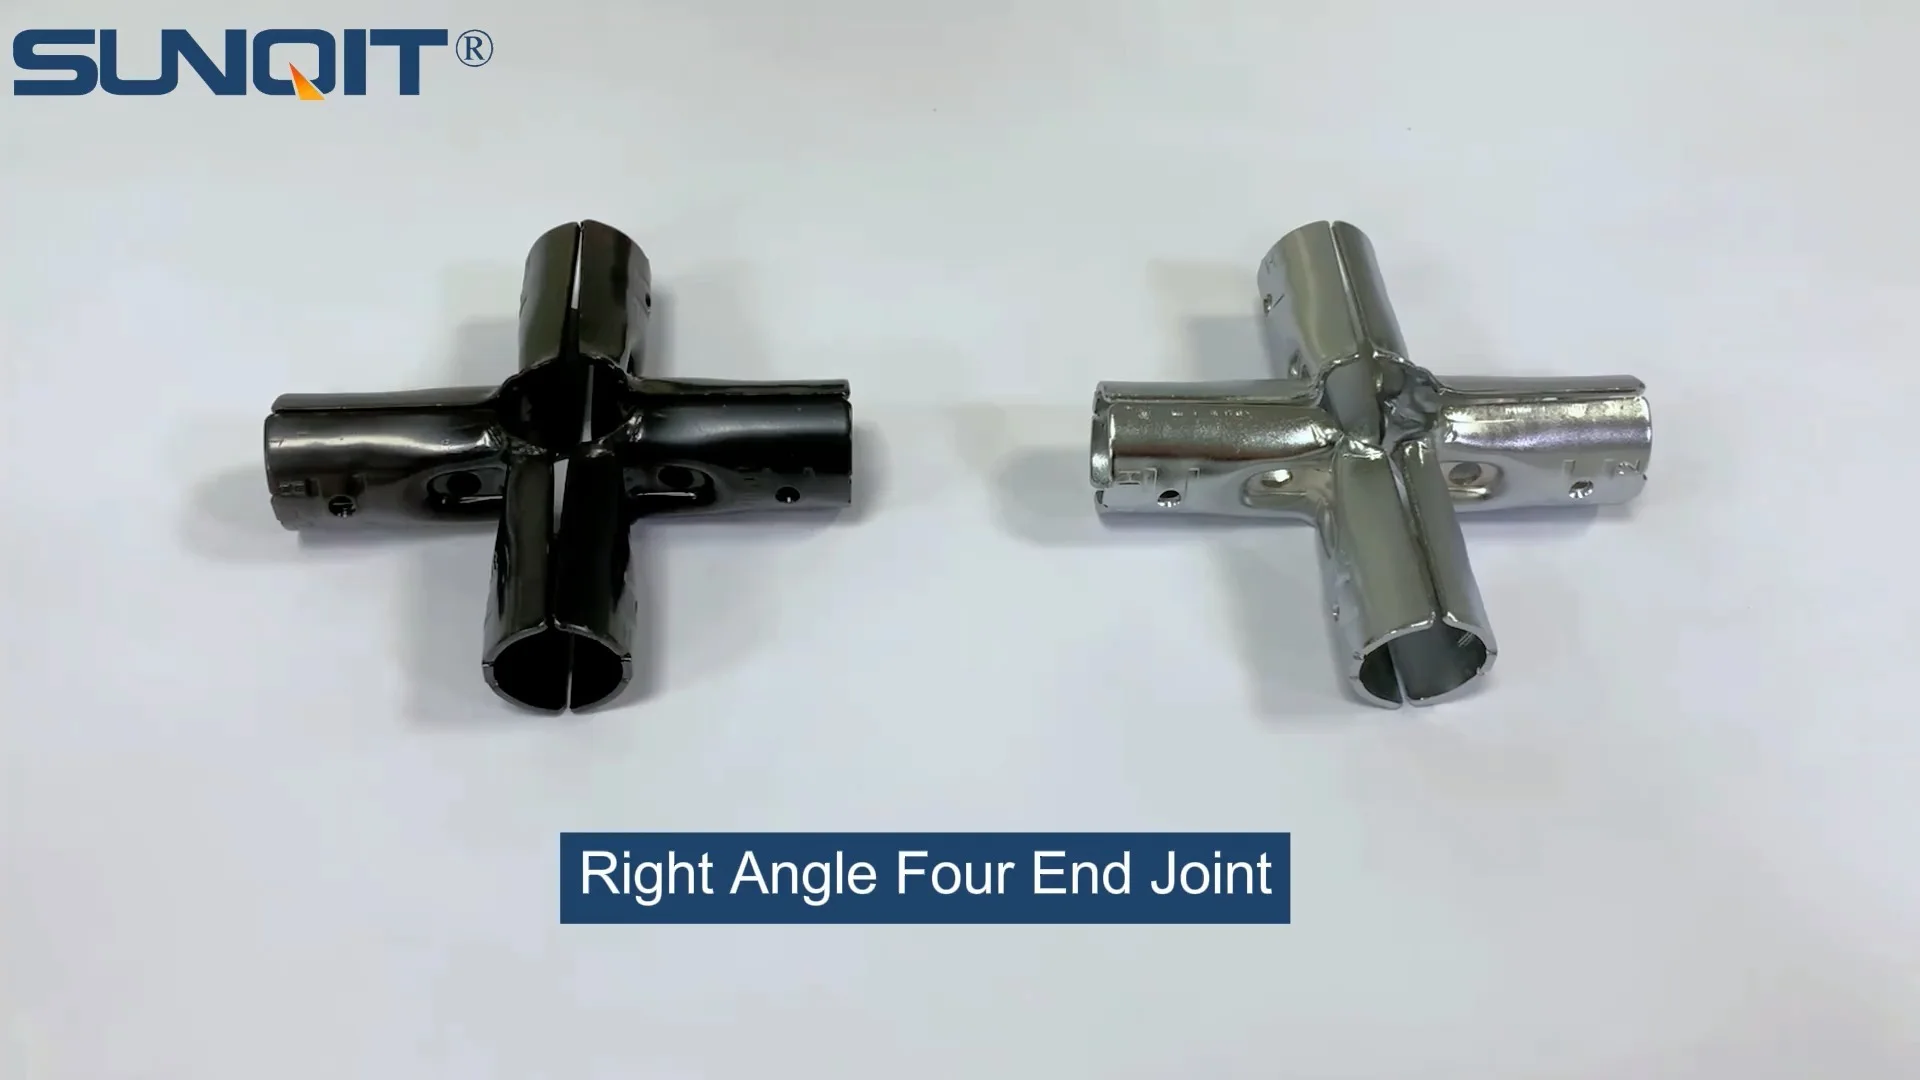
Five way straight lean pipe joint, for 5 pcs 28mm lean pipe connect in straight angle,which used widely in workbench, flow rack, hand trolley frame connection.
In the fast-paced world of manufacturing and assembly, efficiency isn't just a buzzword—it's the backbone of daily operations. Every minute spent adjusting rigid workstations, every dollar wasted on inflexible equipment, and every hiccup in workflow can add up to significant losses. That's where modular solutions like the five way straight lean pipe joint come into play. Designed to simplify the creation of custom workbenches, material racks, and production lines, this small but mighty component has become a cornerstone for teams aiming to embrace lean principles. But with great versatility comes plenty of questions: How do you install it correctly? How much weight can it really handle? And which material option is best for your unique environment? In this guide, we're diving deep into the most common FAQs about the five way straight lean pipe joint, drawing on real-world experience from workshops and factories that have transformed their spaces with this tool. Whether you're a seasoned plant manager or a small business owner just starting to explore modular systems, read on to get the answers you need to build smarter, not harder.
Installation FAQs: Getting Started Right
Q: What tools do I need to install a five way straight lean pipe joint?
A: Installing a five way straight lean pipe joint is refreshingly straightforward, even if you're not a seasoned mechanic. The basic toolkit includes a hex key (usually 5mm or 6mm, depending on the joint's screw size), a rubber mallet (to gently tap pipes into place without damaging threads), and a level (to ensure your structure stays straight). For larger projects or heavier-duty setups, a torque wrench can be helpful to avoid over-tightening—most manufacturers recommend a torque of 15-20 Nm for standard joints. Avoid using power tools like drills, as they can easily strip the joint's internal threads or crack the plastic/metal components. Pro tip: Keep a small container handy for loose screws during assembly—nothing slows down a project like hunting for a missing fastener!
Q: Can I install the joint by myself, or do I need a second person?
A: For small projects—like a single-level material rack or a compact workbench—you can absolutely install the joint alone. Start by assembling the base frame on a flat surface (a concrete floor or worktable works best) to keep pipes stable. However, for larger structures, like a multi-tiered flow rack or a workstation spanning several feet, a second person is a game-changer. They can hold pipes in place while you tighten joints, reducing the risk of misalignment or strain. A recent client in automotive parts assembly shared that their team of two assembled a 10-foot-long roller conveyor using five way joints in under 2 hours—half the time it took when one person tried solo!
Q: What's the step-by-step process for attaching pipes to the joint?
A: Let's break it down with a simple example: building a basic material rack with vertical and horizontal pipes. First, inspect the joint for any defects—check that the threads are clean and the connection points (the five "arms" of the joint) are free of burrs. Next, slide a pipe into one of the joint's openings until it hits the internal stop (you'll feel a slight resistance). Hand-tighten the set screw with the hex key until it's snug, then use the rubber mallet to tap the pipe gently—this ensures it seats fully into the joint. Repeat for the remaining pipes, using the level to check that horizontal pipes are flat and vertical pipes are plumb. Finally, go back and retighten all screws in a crisscross pattern (like tightening lug nuts on a car) to distribute pressure evenly. This prevents the joint from warping as you work. Remember: Rushing this step can lead to wobbly structures later, so take the extra minute to double-check alignment!
Q: What are the most common installation mistakes to avoid?
A: Even experienced teams make missteps, but these are easy to dodge with a little awareness. The biggest culprit? Over-tightening the set screws. It's tempting to crank them until they won't turn, but this can strip the threads or crack the joint—especially with plastic-coated or aluminum variants. Aim for "firm but not forceful" when tightening. Another mistake is ignoring pipe alignment: if two pipes meet at the joint at a slight angle, the entire structure will lean over time. Always use the level after attaching each pipe, not just at the end. Finally, using damaged pipes is a hidden risk. Dented or bent lean pipe won't seat properly in the joint, creating weak points. If a pipe is bent, cut off the damaged section with a pipe cutter (for metal) or a hacksaw (for plastic-coated) before assembly.
Load Capacity: How Much Weight Can It Handle?
Q: What's the maximum weight a five way straight lean pipe joint can support?
A: The short answer: it depends on the joint's material, the type of lean pipe used, and the structure's design. Let's start with the basics. A standard steel five way joint (with 2.0mm wall thickness) paired with 28mm diameter lean pipe can typically support 150-200kg when the load is evenly distributed across all connected pipes. For aluminum joints, the capacity drops slightly to 100-150kg, as aluminum is lighter but less rigid. PE-coated lean pipe, while durable, is best for lighter loads (80-120kg) in environments like electronics assembly. But here's the catch: if you're using the joint to support a cantilevered section (e.g., a shelf extending 2 feet from a vertical post), the capacity drops by 30-40%. Why? Cantilevers create torque that strains the joint's connection points. Always consult the manufacturer's load chart—reputable suppliers like ours include detailed specs based on pipe diameter, wall thickness, and joint material.
Q: How do I test if my structure is strong enough for my needs?
A: Testing is crucial, especially if you're building something custom. Start with a "static load test": place weighted objects (like sandbags or concrete blocks) on the structure, gradually increasing the weight to 120% of your expected daily load. Let it sit for 24 hours—if the joints don't loosen, the pipes don't bend, and the structure remains level, you're good to go. For dynamic loads (e.g., roller conveyors where items slide constantly), add a "vibration test": place a small electric motor (like a phone on vibrate) on the structure and run it for an hour. This mimics the movement of parts in a busy workshop. If screws stay tight and there's no unusual creaking, your setup is solid. A client in medical device manufacturing told us they use water jugs (each 20kg) for testing—easy to stack and adjust!
Q: Can I reinforce the joint if I need more load capacity?
A: Absolutely! There are a few simple ways to boost strength without replacing the joint. First, add diagonal bracing using shorter pipes and two-way joints—this creates a triangular frame, which is inherently more stable than a square or rectangular one. Second, use thicker-walled pipe: upgrading from 1.5mm to 2.0mm steel pipe increases load capacity by 25%. Third, replace plastic end caps with metal ones—they distribute weight more evenly across the joint. For extreme cases (e.g., automotive parts weighing 300kg+), consider doubling up on joints: use two five way joints stacked 6 inches apart on the same vertical pipe to share the load. Just ensure the pipes are perfectly aligned to avoid uneven stress.

Material Options: Steel, Aluminum, or PE-Coated?
Choosing the right material for your five way straight lean pipe joint is about balancing durability, cost, and environment. Let's compare the three most common options:
| Material | Best For | Pros | Cons | Cost (vs. Steel) |
|---|---|---|---|---|
| Steel (Stainless Steel Pipe Series) | Heavy-duty manufacturing, warehouses, outdoor use | High load capacity (150-200kg), corrosion-resistant (stainless steel), long lifespan (10+ years) | Heavier (harder to move for mobile setups), higher cost | 100% (baseline) |
| Aluminum Pipe | Lightweight workstations, cleanrooms, electronics assembly | Lightweight (50% lighter than steel), rust-proof, easy to modify | Lower load capacity (100-150kg), dents more easily | 120-150% |
| PE-Coated Lean Pipe | Low-weight applications, retail displays, schools | Affordable, scratch-resistant, non-conductive (good for electronics) | Not for heavy loads (80-120kg), coating can peel with rough use | 70-80% |
Q: When should I choose stainless steel over aluminum?
A: Stainless steel is your go-to for environments where strength and durability are non-negotiable. Think automotive plants with heavy parts, food processing facilities (where corrosion resistance is critical for hygiene), or outdoor storage areas exposed to rain and humidity. Stainless steel's chromium oxide layer prevents rust, even when regularly hosed down. One client in meatpacking told us their stainless steel flow racks have lasted 12 years with minimal maintenance—far longer than the aluminum racks they replaced, which corroded within 3 years. Aluminum, on the other hand, shines in cleanrooms or labs where weight matters. A pharmaceutical company we worked with needed mobile workstations that could be moved daily; aluminum joints cut the cart's weight by 40%, reducing worker strain.
Q: Does the pipe's color affect its performance?
A: Great question! The color of PE-coated lean pipe is purely cosmetic—yellow, grey, or blue pipes all have the same load capacity and durability. However, color coding can boost efficiency in workflows. For example, a car parts manufacturer used red pipes for "urgent" material racks and green for "standard" parts, cutting down on time spent searching for inventory. Aluminum and stainless steel pipes are typically silver, but some suppliers offer anodized aluminum in black or gold for aesthetic purposes (e.g., retail displays). Just note that anodized aluminum costs 10-15% more than standard silver.

Compatibility: Will It Work With My Existing Lean System?
Q: Can I mix five way straight joints with other lean pipe joints (e.g., three-way, swivel)?
A: Absolutely! Modularity is the whole point of lean pipe systems. Five way straight joints play well with three-way, four-way, and even swivel joints, allowing you to create complex structures like L-shaped workbenches with integrated flow racks. The key is to use pipes of the same diameter—mixing 28mm and 30mm pipes will cause fit issues. For example, a client in electronics manufacturing combined five way joints (for vertical supports) with 90-degree swivel joints (for adjustable shelves) to build a workstation that tilts 30 degrees, reducing worker neck strain. The only exception? Avoid mixing metal and plastic joints in high-load areas—plastic can compress over time, creating uneven stress on metal components.
Q: Are the joints compatible with aluminum profiles or stainless steel roller tracks?
A: Yes, with the right adapters. Most lean pipe suppliers offer "profile mounting brackets" that connect lean pipe joints to aluminum extrusion profiles (like 4040 or 3030 series). These brackets screw into the profile's T-slots, creating a secure link between modular systems. For roller tracks (common in flow racks), use roller track placon mounts—these attach to the joint's threaded holes, allowing you to mount roller tracks horizontally or vertically. A recent project for a beverage distributor combined five way joints with stainless steel swivel roller balls (1 inch) to create a gravity-fed flow rack that moves cases from the back to the front of the shelf—no manual lifting required!

Maintenance & Troubleshooting: Keeping Your Joints in Top Shape
Q: How often should I inspect and maintain the joints?
A: In high-traffic areas (e.g., assembly lines running 3 shifts), inspect joints weekly for loose screws or cracks. In less busy environments (like a small workshop), monthly checks are sufficient. Start by tightening any loose set screws with a hex key—over time, vibration can loosen them. Wipe down steel joints with a damp cloth to remove dust and debris; for stainless steel, use a mild stainless steel cleaner to prevent water spots. Aluminum joints can be cleaned with soap and water, but avoid abrasive sponges that scratch the surface. If you notice a joint with cracked threads or a bent connection arm, replace it immediately—damaged joints are a safety hazard. Pro tip: Keep a "spare parts kit" with 5-10 joints, screws, and pipe cutters on hand to minimize downtime.
Q: My joint is loose even after tightening—what's wrong?
A: Loose joints are usually caused by one of three issues. First, the pipe may not be fully seated in the joint. Remove the pipe, check for burrs on the end (use a file to smooth if needed), and reinsert it, tapping gently with a rubber mallet until it hits the internal stop. Second, the joint's threads may be stripped from over-tightening. If the screw spins freely without resistance, the joint needs to be replaced—stripped threads can't be repaired. Third, the pipe itself may be bent. A bent pipe creates uneven pressure on the joint, leading to constant loosening. Cut off the bent section or replace the pipe entirely. A client in furniture manufacturing once spent weeks fighting loose joints until they realized their team was using a pipe that was 1mm too short—once they switched to the correct length, the problem vanished!
Final Thoughts: Why the Five Way Straight Lean Pipe Joint Matters
At the end of the day, the five way straight lean pipe joint is more than just a hardware component—it's a tool for empowerment. It lets teams stop adapting to rigid equipment and start building systems that adapt to them. Whether you're scaling up production, redesigning a workstation for ergonomics, or simply trying to reduce waste, this joint puts the power of customization in your hands. By understanding how to install, load-test, and maintain it, you're not just building structures—you're building a leaner, more efficient future for your operation. And if you ever hit a snag? Remember, we're here to help. From material selection to custom design advice, our team of lean system experts is just a call away. Here's to building smarter, together.